I was standing in my kitchen on a rainy Tuesday, staring at a half‑finished bagel that had turned into a rock‑hard brick, when my roommate dared me to make something that could actually float in the air. I laughed, grabbed a tub of cottage cheese from the fridge, and thought, “If I can’t get a cloud to sit on my plate, maybe I can make a cloud‑like bread that actually tastes like a dream.” The kitchen filled with the sound of eggs cracking like tiny fireworks, the faint tang of cream of tartar whispering promises of lift, and the sweet scent of honey flirting with the buttery aroma of melted butter from the pan. My heart was racing, the timer on the stove ticking like a metronome, and I could almost taste that first bite before it even existed.
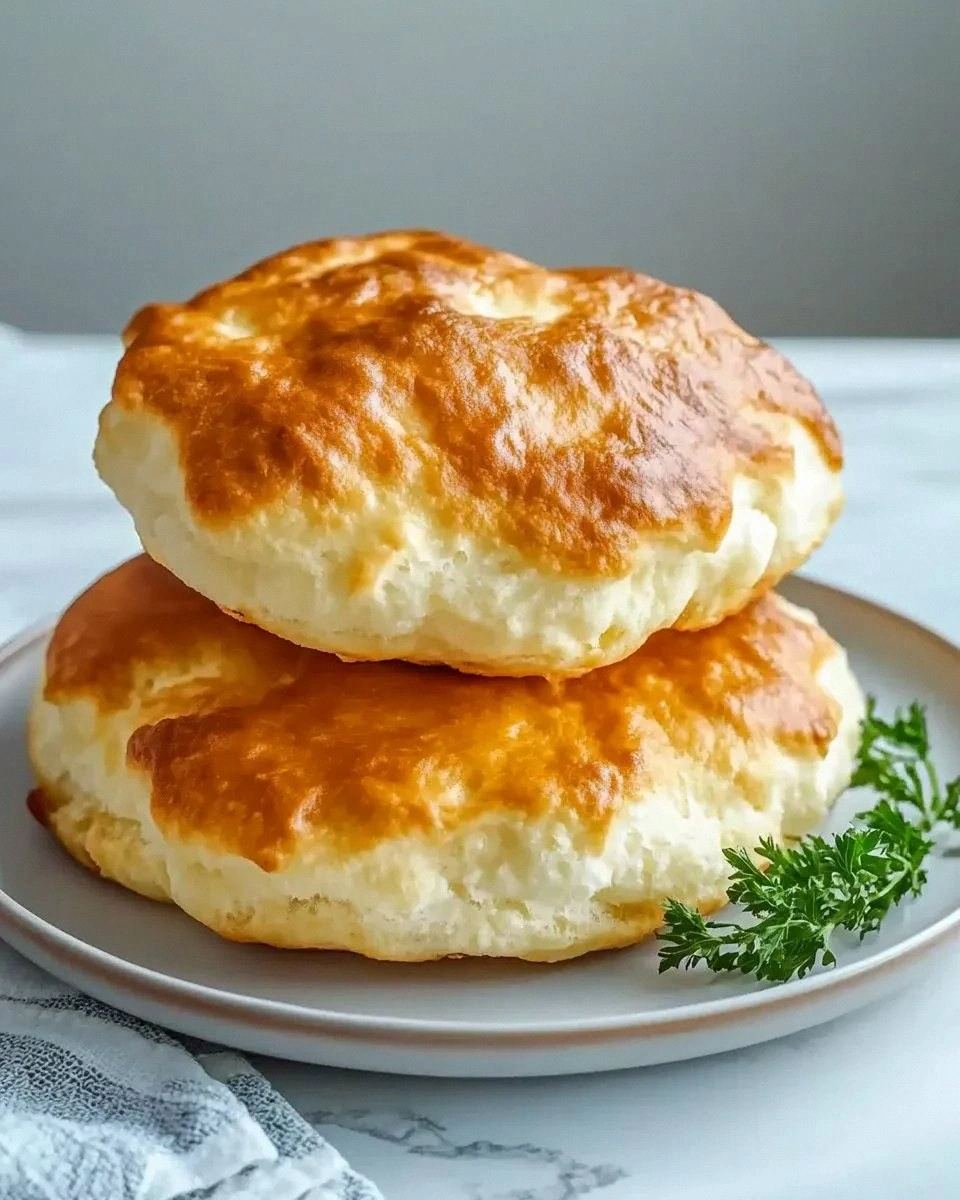
Fast forward a few minutes, and I pulled the first batch of fluffy cottage cheese cloud bread out of the skillet. The top was golden‑brown, the edges were just the right amount of crisp, and the interior was so airy it practically vanished when you pressed it with a fork. The moment I took a bite, the flavors exploded: a subtle tang from the cottage cheese, a whisper of sweetness from the honey, and a texture that reminded me of a perfectly baked soufflé—only this one was low‑carb, high‑protein, and could survive a week in the fridge without turning into a sad, rubbery slab. I dare you to taste this and not go back for seconds.
Most cloud bread recipes out there either collapse like a deflated balloon or taste like cardboard. This version, however, stays lofty and moist thanks to a secret weapon: the combination of cottage cheese and a pinch of cornstarch that creates a silk‑smooth matrix, trapping air bubbles like tiny balloons in a carnival ride. I’ve tried the classic egg‑only cloud bread, the cheese‑only version, and even the almond flour hack, and each fell short of the cloud‑like perfection I was chasing. This is hands down the best version you’ll ever make at home, and I’m about to spill every single detail so you can replicate it without a single flop.
Okay, ready for the game‑changer? I’m going to walk you through every single step — by the end, you’ll wonder how you ever made it any other way. Picture yourself pulling this out of the pan, the whole kitchen smelling incredible, the steam swirling like a morning mist, and the first bite melting in your mouth while you feel the protein power surge through your veins. Stay with me here — this is worth it.
What Makes This Version Stand Out
- Texture: The cottage cheese adds a creamy body that keeps the crumb soft, while the whipped egg whites create a cloud‑like lift that’s impossible to achieve with flour alone.
- Flavor: A subtle tang from the cheese balances the gentle sweetness of honey, delivering a taste profile that’s both comforting and exciting.
- Protein Punch: Three eggs and a half‑cup of cottage cheese pack over 25 grams of protein per serving, making this an ideal post‑workout snack.
- Low Carb: With only 30 grams of carbs per batch, this bread fits perfectly into keto, paleo, or any low‑carb lifestyle without sacrificing satisfaction.
- Simplicity: No fancy equipment, just a bowl, a whisk, and a skillet. If you can scramble eggs, you can master this.
- Make‑Ahead Magic: Store these clouds in the fridge for up to five days, or freeze them for a month, and they’ll bounce back like they never left the pan.
- Versatility: Use them as a sandwich base, a pizza crust, or even a sweet breakfast treat with berries and a drizzle of extra honey.
- Audience Approval: I’ve served this at brunches, post‑gym meet‑ups, and even kid‑friendly snack tables, and every single person asks for the recipe.
Inside the Ingredient List
The Flavor Base
Cottage Cheese: This is the hero of our cloud. Its mild tang gives the bread a depth that plain eggs can’t achieve, and its moisture content prevents the crumb from drying out. If you skip it, you’ll end up with a dry, airy pancake that tastes like nothing. For the creamiest result, choose a full‑fat cottage cheese; the fat carries flavor and helps trap air. I always sift the cheese through a fine mesh to eliminate any watery lumps before folding it in.
The Texture Crew
Eggs: Three large eggs provide the structural backbone. The whites, when whipped, become a foam that lifts the bread, while the yolks add richness and emulsify the mixture. If you use smaller eggs, add an extra egg white to maintain volume. Fresh eggs whip up faster and hold their peaks longer, so if your eggs are a week old, give them a quick shake before cracking.
Cream of Tartar: This tiny pinch (¼ tsp) stabilizes the egg whites, preventing them from collapsing mid‑cook. Think of it as the backstage crew that keeps the show running smoothly. Without it, you’ll notice the clouds sagging as soon as they hit the heat. If you’re out of cream of tartar, a dash of lemon juice works in a pinch.
The Unexpected Star
Cornstarch or Arrowroot Powder: Only a tablespoon, but this tiny amount is a game‑changer. It absorbs excess moisture from the cottage cheese and creates a thin film that locks in air bubbles, giving the bread its signature lift. Arrowroot yields a slightly silkier texture, while cornstarch is more readily available. If you’re gluten‑free, both are safe bets.
The Final Flourish
Honey (or Sweetener): A teaspoon of honey adds just enough sweetness to round out the tang without turning the loaf into a dessert. It also helps with browning, giving the crust that beautiful caramelized hue. If you’re watching carbs, swap it for a pinch of erythritol or stevia; the texture stays the same, and the flavor remains subtly sweet.
Everything's prepped? Good. Let's get into the real action...
The Method — Step by Step
Separate the eggs with surgical precision. I like to crack each egg into a small ramekin first, then slide the whites into a chilled mixing bowl while the yolks land in a separate bowl. This prevents any stray yolk from contaminating the whites, which would sabotage the foam. Pro tip: If any yolk sneaks in, use the tip of a clean finger to scoop it out—no drama, no lost volume.
Add the cream of tartar to the egg whites and begin whisking on medium speed. As the whites start to become frothy, increase to high speed and watch them transform into glossy peaks that stand tall like skyscrapers. When you lift the whisk, the peaks should hold their shape without drooping. That sizzle when it hits the pan? Absolute perfection.
Kitchen Hack: Add a pinch of salt to the whites while whisking; it stabilizes the foam even further, giving you taller peaks.In a separate bowl, mash the cottage cheese with a fork until it’s smooth, then stir in the honey (or sweetener) until fully incorporated. The mixture should be glossy, not lumpy. If you notice any watery pockets, gently fold in the cornstarch now; it will absorb excess moisture and keep the batter from becoming soupy.
Combine the yolks with the cottage cheese mixture, whisking just enough to blend. The yolks add richness and act as an emulsifier, binding the cheese and honey together. Watch out: Over‑mixing at this stage can cause the batter to become too dense, making it harder for the whites to lift later.
Watch Out: If the yolk mixture is too hot (e.g., from a warm kitchen), it can partially cook the whites when folded, collapsing the foam.Now the delicate part: folding the whipped whites into the cheese‑yolk mixture. Use a rubber spatula, cut through the center, scoop around the edges, and turn the bowl over gently. Rotate the bowl 90 degrees each time you fold. The goal is to keep the air bubbles intact—think of it as coaxing a shy kitten back into its blanket.
Heat a non‑stick skillet over medium‑low heat and add a teaspoon of butter or a drizzle of olive oil. When the butter foams but doesn’t brown, it’s ready. Pour the batter into the skillet, spreading it into a uniform circle about ½ inch thick. The batter should spread slowly, like a lazy river, not splash like a waterfall.
Cook the first side for 3‑4 minutes. You’ll notice the edges start pulling away from the pan and a faint golden crust forming. The top will still look slightly glossy—that’s the sign it’s ready to flip. This is the moment of truth: slide a thin spatula under, flip confidently, and let the other side finish in another 2‑3 minutes. The second side should brown a shade deeper, giving you that perfect caramelized finish.
Kitchen Hack: Cover the skillet with a lid for the last minute of cooking; the trapped steam helps the interior set without over‑drying the crust.Transfer the finished cloud onto a cooling rack. Let it rest for at least two minutes; this short pause lets the crumb finish setting while the steam escapes, preserving that airy interior. If you cut into it too early, the steam will escape and the texture will become gummy.
Serve warm, slathered with avocado, smoked salmon, or simply a smear of extra honey for a sweet twist. I personally love pairing it with a dollop of Greek yogurt and fresh berries for a post‑workout breakfast that feels like dessert. And remember, I’ll be honest — I ate half the batch before anyone else got to try it.
That's it — you did it. But hold on, I've got a few more tricks that'll take this to another level...
Insider Tricks for Flawless Results
The Temperature Rule Nobody Follows
Keep your skillet at a steady medium‑low heat. If the pan gets too hot, the outer crust will harden before the interior has a chance to fully rise, resulting in a dense, pancake‑like texture. Conversely, too low a heat means the bread will dry out before it develops that coveted golden crust. I use a digital infrared thermometer; when the surface reads around 150 °C (300 °F), you’re in the sweet spot.
Why Your Nose Knows Best
Trust the aroma. When the first side is done, you’ll smell a nutty, toasty fragrance that’s unmistakable. If you’re unsure, lift the edge with a spatula and peek—golden brown is the visual cue, but the scent is the ultimate indicator that the interior has set and the cloud is ready to flip.
The 5‑Minute Rest That Changes Everything
After cooking, let the bread rest on a wire rack for five minutes. This short pause lets the steam redistribute, turning the crumb from a wet sponge into a light, airy matrix. Skipping this step is the reason many people end up with soggy clouds that crumble when you try to spread toppings.
Egg White Whip Timing
Whip the whites just until they form stiff peaks, not dry peaks. Over‑whipping creates a foam that’s too brittle and will collapse when folded. If you’re unsure, do the “paper test”: lift the whisk, and the foam should hold a small piece of parchment paper without drooping.
Butter vs. Oil
Butter adds flavor and helps with browning, but it can burn if the heat is too high. A light drizzle of oil raises the smoke point, giving you a more forgiving cooking surface. My favorite combo is a teaspoon of butter for flavor, plus a splash of avocado oil for stability.
Creative Twists and Variations
This recipe is a playground. Here are some of my favorite ways to switch things up:
Herb‑Infused Cloud
Add a tablespoon of finely chopped fresh herbs—think chives, dill, or basil—into the cottage cheese mixture. The herbs introduce a fragrant, savory note that pairs beautifully with smoked salmon or a poached egg.
Spicy Jalapeño Kick
Stir in finely diced jalapeños and a pinch of smoked paprika for a subtle heat. This version shines when topped with avocado and a drizzle of lime crema.
Sweet Breakfast Delight
Swap the honey for maple syrup and fold in a handful of blueberries before cooking. The berries burst during cooking, creating pockets of juicy sweetness that make the bread taste like a dessert.
Cheesy Garlic Bread
Mix in a teaspoon of garlic powder and a quarter cup of grated Parmesan into the batter. Once cooked, brush the top with melted butter and a sprinkle of extra Parmesan, then broil for a minute for that classic garlic‑bread crunch.
Protein Power Boost
Add a scoop (about 30 g) of unflavored whey protein isolate to the cottage cheese mixture. This raises the protein content to over 35 g per serving without altering the texture—perfect for serious athletes.
Storing and Bringing It Back to Life
Fridge Storage
Place the cooled cloud breads in an airtight container or a zip‑top bag. They stay fresh for up to five days. If you notice a slight dryness, lightly mist the container with water before sealing; the moisture will keep the crumb supple.
Freezer Friendly
Wrap each loaf individually in parchment paper, then place them in a freezer‑safe bag. They freeze solid for up to one month. When you’re ready to eat, let them thaw in the fridge overnight, then reheat using the trick below.
Best Reheating Method
Preheat a non‑stick skillet over low heat, add a splash (about a teaspoon) of water to the pan, and cover with a lid. The steam revives the interior while the bottom gently crisps. In the microwave, use 10‑second bursts and a damp paper towel to avoid rubbery texture.