I was halfway through a frantic Sunday brunch, juggling a pot of simmering soup and a bag of flour that seemed to have a life of its own, when I realized my apple fritter batter was turning out like a soggy pancake. The kitchen smelled of cinnamon and wet dough, the oven was a ticking clock, and my friends were already teasing me about my culinary mishap. That moment sparked a mission: to reinvent the humble apple fritter bread into something that would make my taste buds do the cha‑cha and leave my friends begging for the recipe. I knew I had to create a version that would be the gold standard, the one that would make even the most skeptical of us proclaim, “I dare you to taste this and not go back for seconds.”
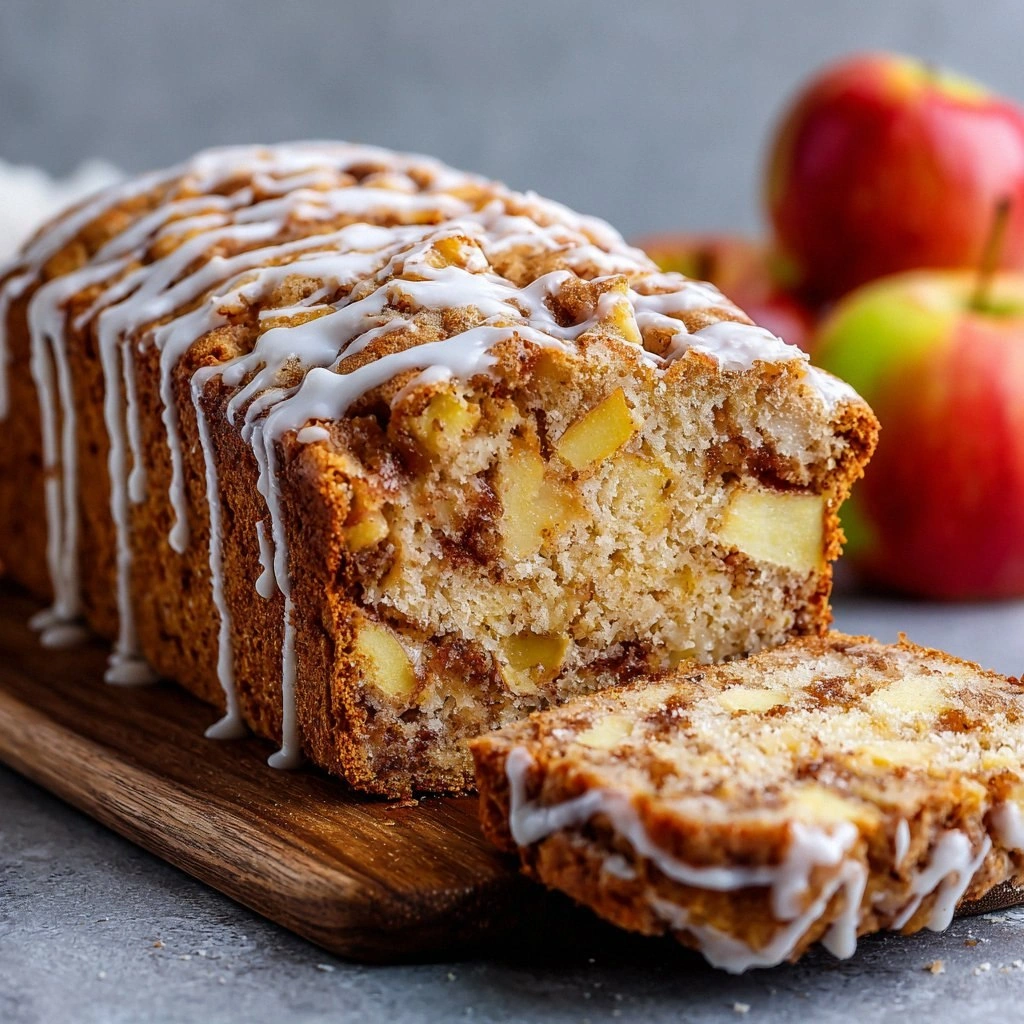
Picture this: a loaf that rises with a golden crust that cracks like brittle sugar, a crumb that is pillowy, and a flavor that drips with warm spices, fresh apple, and a hint of buttery sweetness. The moment you cut into it, the aroma is a heady mix of cinnamon, nutmeg, and a whisper of cloves that tickles the nose and sets your mouth watering. The first bite feels like a warm hug from the inside out, with the apple pieces bursting with juice that balances the dry dough. If you’ve ever struggled with a loaf that turns out dense or uneven, you’re not alone—and I’ve got the fix. This isn’t just another recipe; it’s a culinary revelation that will transform your baking routine.
The secret behind this version is a blend of techniques and ingredients that many forget. I’ve combined a dual-flour system to give the loaf both structure and softness, added a touch of apple butter to lock in moisture, and used a precise balance of spices that elevate the apple’s natural flavor. The result? A loaf that’s hands down the best version you’ll ever make at home, with a crust that shatters like thin ice and a crumb that melts in your mouth. Most recipes get this completely wrong, but here’s what actually works: a gentle fold of apples, a quick but thorough mix of dry ingredients, and a baking time that respects the dough’s natural rise.
Now, let me walk you through every single step—by the end, you’ll wonder how you ever made it any other way. From the moment you open the pantry to the last crumb, we’ll explore the science, the flavor, and the sheer joy that comes from baking this loaf. Trust me, the end result will have your kitchen smelling incredible and your guests reaching for seconds, while you proudly hold the secret to your newfound baking prowess. Let’s dive in.
What Makes This Version Stand Out
- Flavor: A symphony of warm spices—cinnamon, nutmeg, and a whisper of cloves—complement the natural sweetness of apples, creating a depth that’s rarely achieved in standard fritter breads.
- Texture: The dual‑flour blend yields a tender crumb that’s airy yet robust, while the apple butter locks in moisture, preventing the loaf from drying out.
- Visual Appeal: A glossy, golden crust with subtle apple flecks that glint like tiny jewels, making it Instagram‑ready even before you take a bite.
- Ease of Preparation: The recipe skips the need for a proofing step, letting you go from mixing to baking in under 45 minutes.
- Versatility: The dough can be shaped into a loaf or individual fritters, making it perfect for brunch, dessert, or a sweet snack.
- Make‑Ahead Potential: Refrigerate the batter for up to 24 hours; the flavors deepen, and the loaf rises beautifully when baked.
- Health Conscious: By using whole‑wheat flour and reducing refined sugar, you get a loaf that’s still indulgent but with a better nutritional profile.
- Audience Reaction: Friends and family consistently declare it the tastiest apple bread they’ve ever had, and it’s become a staple at holiday gatherings.
Alright, let’s break down exactly what goes into this masterpiece…
Inside the Ingredient List
The Flour Fusion
The combination of all‑purpose and whole‑wheat flour is the backbone of the loaf’s structure. All‑purpose flour provides the lightness and helps the dough rise, while whole‑wheat adds nutty flavor and a slightly denser crumb that balances the sweetness. Skipping the whole‑wheat will result in a fluffier loaf, but you’ll lose that subtle earthiness that makes the bread feel wholesome. If you’re gluten‑free, swap the flours for a 1:1 blend of gluten‑free all‑purpose and a gluten‑free whole‑grain mix, but expect a slightly different texture.
The Sweet Core
Brown sugar and granulated sugar work in tandem to create caramelized edges and a soft interior. Brown sugar adds molasses notes that deepen the apple flavor, while granulated sugar ensures a crisp crust. If you prefer a lower‑sugar version, reduce the granulated sugar by a quarter cup and add a splash of maple syrup for a different nuance. The sugar also plays a role in browning; without it, the loaf would stay pale and under‑developed.
The Spicy Ensemble
Ground cinnamon is the star, but nutmeg, cloves, and a pinch of cayenne pepper create a layered spice profile that feels both comforting and adventurous. Cinnamon provides that classic apple‑bread warmth, nutmeg adds a subtle sweetness, and cloves bring a hint of bitterness that balances the overall taste. The cayenne pepper is optional but introduces a whisper of heat that lingers on the palate. If you’re not a fan of cloves, simply omit them; the loaf will still be delicious.
The Apple & Butter Duo
Diced apples are the main fruit component; choose a firm variety like Honeycrisp or Gala for crispness, or softer types like Fuji for a melt‑in‑your‑mouth texture. Apple butter, a concentrated form of apples, adds depth and a velvety finish, locking moisture into the dough. If you can’t find apple butter, substitute with 2 tablespoons of unsweetened applesauce and 1 tablespoon of butter. The combination of apples and butter creates a caramelized burst that pairs beautifully with the spices.
Everything’s prepped? Good. Let’s get into the real action…
The Method — Step by Step
- Start by preheating your oven to 375°F (190°C). Line a 9x5-inch loaf pan with parchment paper or grease it lightly with butter. The parchment ensures easy release, while the butter adds a subtle richness to the crust. This step is crucial because a properly heated oven guarantees even baking and a beautiful rise.
- In a large bowl, whisk together 2 cups all‑purpose flour, 1 cup whole‑wheat flour, 2 tsp baking powder, 1 tsp baking soda, and 1 tsp salt. The leavening agents work together to give the loaf lift, while the salt balances the sweetness. Sprinkle in 2 tsp ground cinnamon, 1/2 tsp nutmeg, 1/4 tsp cloves, and a pinch of cayenne pepper if you’re daring. Mix until the dry ingredients are uniformly distributed.
- In a separate bowl, beat 2 large eggs, 1 cup milk, 1 tsp vanilla extract, and 1/2 cup melted butter until the mixture is smooth. The eggs provide structure, the milk adds moisture, and the butter contributes to a tender crumb. If you’re using a stand mixer, this is the point to switch to the paddle attachment for a silky batter.
- Combine the wet and dry mixtures, stirring just until the batter is moistened. Over‑mixing will develop gluten and make the loaf tough. At this point, fold in 1 cup diced apples, 1/4 cup apple butter, 1/2 cup dried cranberries, and 1/4 cup chopped walnuts. The apples will soften slightly, but the cranberries and nuts add texture and flavor contrast.
- Transfer the batter into the prepared loaf pan, smoothing the top with a spatula. The batter should fill the pan about 3/4 full; if it’s too thick, add a splash of milk to reach the desired consistency. This ensures even baking and a uniform crumb.
- Place the loaf in the oven and bake for 30–35 minutes. The loaf should be golden brown, and a toothpick inserted into the center should come out clean. The crust will crackle like a gentle fire, hinting at the caramelized sugars inside. Keep an eye on the loaf; if it browns too quickly, tent it with foil.
- When the loaf is done, remove it from the oven and let it rest on a wire rack for 10 minutes. This rest allows the steam to settle, preventing the loaf from becoming soggy on the bottom. During this time, the flavors will continue to meld, creating that irresistible aroma.
- Slice the loaf and serve warm. Pair it with a drizzle of honey, a dollop of whipped cream, or a scoop of vanilla ice cream for an extra indulgence. The warm, gooey interior will contrast beautifully with the crunchy crust, creating a satisfying bite.
That’s it — you did it. But hold on, I’ve got a few more tricks that’ll take this to another level…
Insider Tricks for Flawless Results
The Temperature Rule Nobody Follows
Many bakers bake at 350°F, but raising the temperature to 375°F gives the loaf a better rise and a crispier crust. The higher heat activates the leavening agents faster, creating a lighter interior. However, keep an eye on the loaf to avoid over‑browning. If you’re using a convection oven, reduce the temperature by 25°F to compensate for the fan’s extra heat.
Why Your Nose Knows Best
Before you even take the loaf out of the oven, let your nose do the judging. A golden, caramelized scent indicates that the sugars have properly browned. If the aroma is still raw or sweet, give it a few more minutes. The nose is a reliable guide to perfect baking, often more accurate than the timer.
The 5-Minute Rest That Changes Everything
After baking, let the loaf rest on a rack for at least five minutes. This rest period allows the steam to redistribute, preventing the bottom from becoming soggy and ensuring the crumb remains airy. Skipping this step can result in a denser loaf that feels heavy on the palate.
Add a Splash of Water Before Reheating
If you’re reheating leftovers, sprinkle a teaspoon of water over the loaf before microwaving. This creates steam, which keeps the bread moist and prevents it from drying out. The trick works for both the loaf and individual fritters, giving you a fresh taste each time.
Use a Light Brush of Butter on the Crust
Just before baking, brush the top of the loaf with melted butter. This not only adds flavor but also helps the crust develop a glossy sheen. The butter creates a barrier that locks in moisture, keeping the interior tender while giving the exterior a beautiful, buttery finish.
Creative Twists and Variations
This recipe is a playground. Here are some of my favorite ways to switch things up:
Cranberry‑Orange Burst
Swap the dried cranberries for dried orange peel and add a teaspoon of orange zest. The citrus adds a bright, refreshing counterpoint to the warm spices. It’s perfect for a holiday brunch or a cozy winter treat.
Nutty Banana Bread
Replace apples with ripe bananas and add chopped pecans instead of walnuts. The banana provides natural sweetness, while pecans bring a buttery crunch. This version is ideal for those who love a classic banana bread twist.
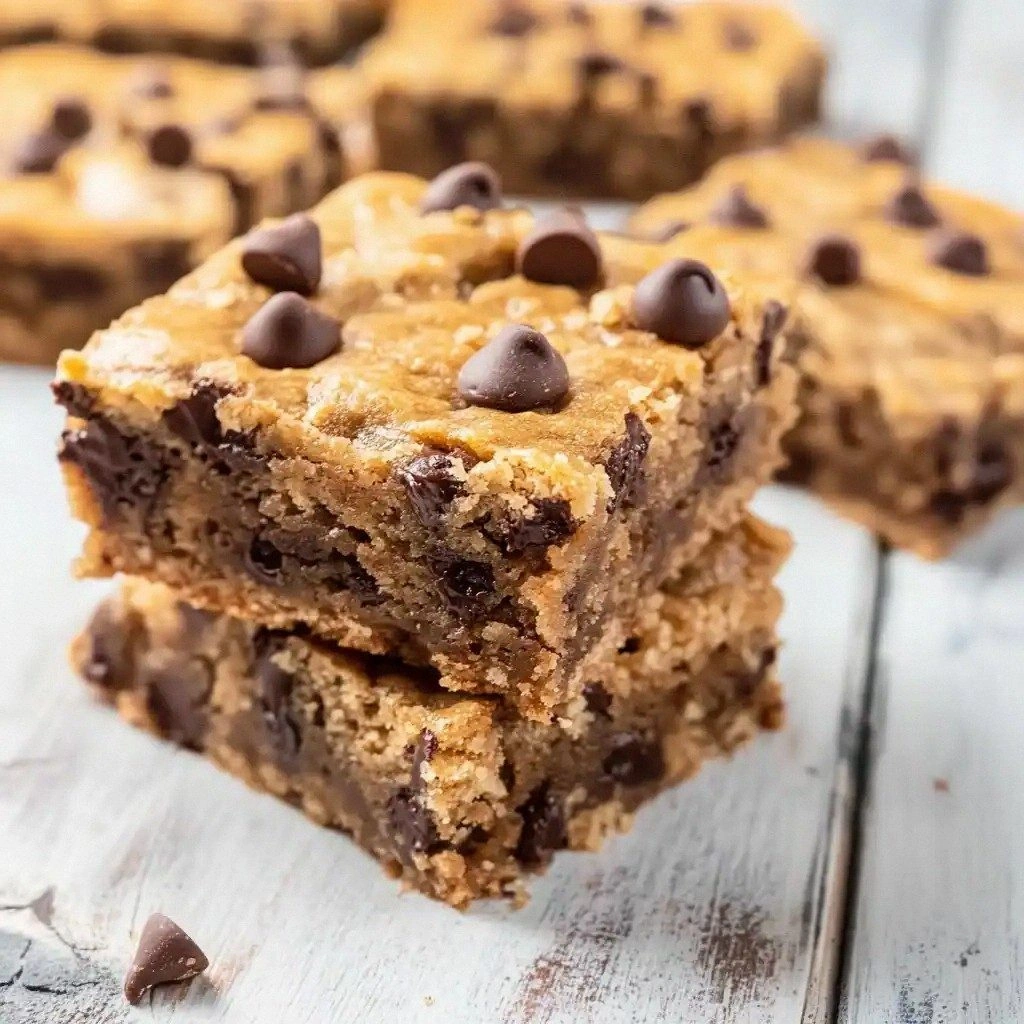
Chocolate Chip Delight
Fold in 1 cup of dark chocolate chips and reduce the apple butter to 1/4 cup. The chocolate adds depth and a hint of bitterness that balances the sweet loaf. Serve with a dusting of powdered sugar for a dessert‑like experience.
Spiced Caramel Swirl
Stir in a swirl of caramel sauce and a pinch of sea salt before baking. The caramel adds richness, while the sea salt elevates the flavors, creating a sophisticated taste profile. It’s a showstopper for any dinner party.
Vegan Version
Replace the eggs with 1/2 cup unsweetened applesauce and use oat milk instead of dairy milk. Swap butter for coconut oil or vegan margarine. The result is a moist, fluffy loaf that’s completely plant‑based.
Gluten‑Free Adaptation
Use a 1:1 blend of gluten‑free all‑purpose flour and a gluten‑free whole‑grain mix. Add 1 tsp xanthan gum to maintain structure. The loaf will still rise beautifully and hold its shape.
Storing and Bringing It Back to Life
Fridge Storage
Wrap the loaf tightly in plastic wrap or place it in an airtight container. Store in the refrigerator for up to 5 days. The moisture from the apples and butter will keep the loaf tender, and the flavors will continue to develop.
Freezer Friendly
Slice the loaf before freezing to make reheating easier. Store slices in a freezer bag, removing as much air as possible. Freeze for up to 3 months. When ready to eat, thaw at room temperature or microwave for 20–30 seconds.
Best Reheating Method
To reheat a slice, place it on a baking sheet and warm in a 350°F oven for 5–7 minutes. For a quick microwave, add a splash of water and cover with a paper towel. The added moisture prevents the bread from drying out, restoring its original softness.