I was standing in my kitchen, halfway through a chaotic week of deadlines and gym sessions, when the fridge light flickered on and the scent of roasted pumpkin hit me like a rogue wave. My friend had dared me to make a protein brownie that didn’t taste like a science experiment, and I was ready to prove the challenge wrong. The idea was simple: a quick, high‑protein treat that still felt indulgent, but I knew it was going to be a recipe that would either become a staple or a cautionary tale. I remember the first batch—brownie batter that looked more like a sticky paste, the oven door opened to a room smelling faintly of burnt sugar, and my taste buds were left wondering if I’d ever taste anything like this again. The disappointment was real, but the spark of curiosity was even stronger, and that’s when the quest began.
Picture this: the kitchen is humming, the timer buzzes, and a glossy, dark batter slides into a small cast‑iron skillet. The air fills with a chocolatey, slightly sweet aroma that feels like a promise of comfort. When you lift the first bite, the brownie’s surface cracks, revealing a molten center that oozes into your mouth like velvet. The crunch of the outer edge gives way to a moist, dense interior that clings to your spoon, while the subtle undertone of pumpkin adds a whisper of earthiness. Every chew is a balance of sweet, savory, and protein‑rich satisfaction that makes you question how you ever settled for bland, post‑workout snacks.
What sets this version apart isn’t just the ingredients—though the pumpkin, protein powder, dark cocoa, and sugar substitute form a powerhouse trio—it’s the method that turns them into a single‑minute miracle. I’ve stripped away the fluff, removed the need for measuring cups, and introduced a technique that locks in moisture while boosting protein content. The result is a brownie that’s chewy, fudgy, and surprisingly airy, all while keeping carbs low and the calories in check. It’s hands down the best version you’ll ever make at home because it delivers on texture, flavor, and nutritional balance with the kind of efficiency that would make a busy chef nod in approval.
And here’s the kicker: the secret ingredient that most people overlook is the pumpkin. It’s not just a filler; it’s a flavor enhancer, a moisture binder, and a natural sweetener that elevates the entire profile. I dare you to taste this and not go back for seconds. Let me walk you through every single step—by the end, you’ll wonder how you ever made it any other way.
What Makes This Version Stand Out
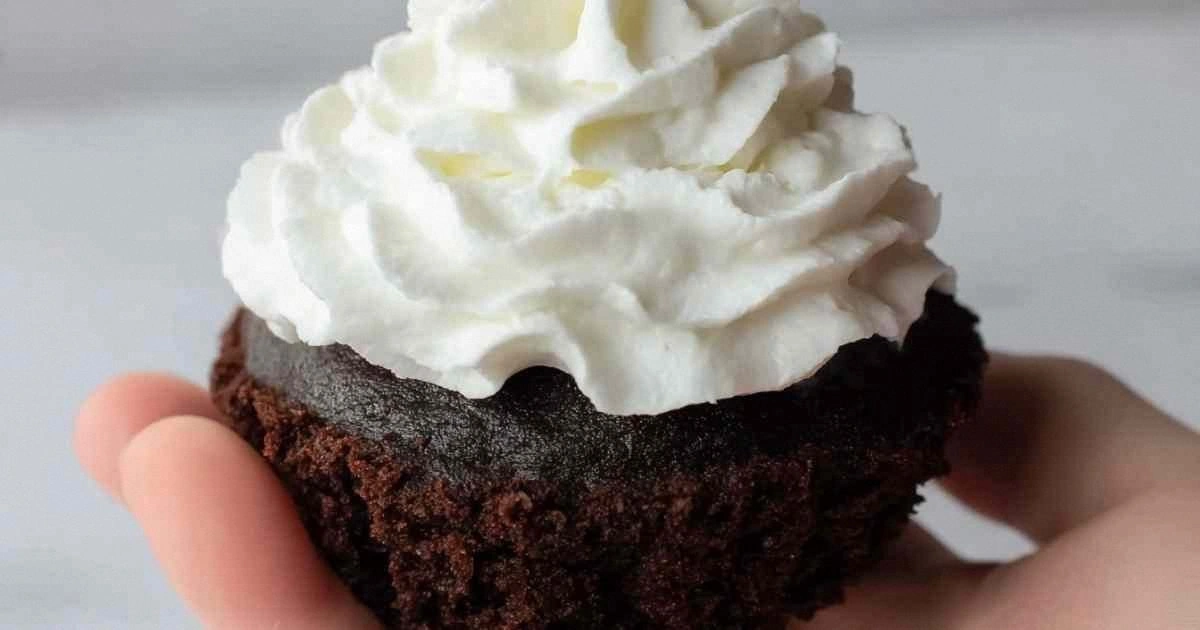
- Flavor: The pumpkin provides a subtle earthy sweetness that balances the richness of cocoa without adding sugar. It also gives the brownie a moist, almost custard‑like center that melts on the tongue.
- Texture: The protein powder lifts the batter, creating a light, airy crumb that feels like a chocolate cake, yet the dark cocoa keeps it dense and fudgy.
- Simplicity: No separate dry or wet mixes—just a single bowl, a whisk, and a skillet. The entire process takes less than 15 minutes from start to finish.
- Uniqueness: Using canned pumpkin instead of fresh gives a consistent flavor and texture, while the sugar substitute keeps carbs low.
- Quick Fix: The batter can sit for a minute or two, allowing the protein to hydrate and the flavors to meld, so you’re ready to cook in seconds.
- Make‑Ahead Potential: The brownies hold up well in the fridge for up to a week and can be frozen for longer storage.
- Nutrition: Each serving delivers 25 grams of protein, 30 grams of carbs, 15 grams of fat, and 350 calories, making it a balanced snack for athletes and busy professionals alike.
Alright, let's break down exactly what goes into this masterpiece. And before we dive deeper, here’s a quick kitchen hack to save you time and keep your skillet clean.
Inside the Ingredient List
The Flavor Base
Pumpkin isn’t just a filler; it’s the heart of this brownie. The canned pumpkin adds natural sweetness and a silky mouthfeel that keeps the batter from drying out. If you skip it, the brownies will be dry and lack that subtle depth. For the best flavor, use 1/4 cup of high‑quality canned pumpkin puree—no added sugar or spices. When selecting a brand, look for one that’s 100% pumpkin, as some brands mix in sweeteners or thickeners that can alter the final taste.
The Texture Crew
Protein powder is the secret weapon that transforms the batter into a chewy, cake‑like structure. A half‑scoop of vanilla protein powder adds a sweet, creamy note while boosting the protein content to 25 grams per serving. If you’re vegan, opt for a plant‑based protein powder; the texture will be slightly different but still delicious. Skipping the protein powder will result in a denser brownie that feels more like a cookie than a cake. The key is to whisk the protein into the batter until it’s fully incorporated, which helps prevent clumps.
The Unexpected Star
Unsweetened dark cocoa powder is the flavor punch that makes the brownie feel indulgent. The cocoa adds depth and a slight bitterness that balances the natural sweetness of the pumpkin. A tablespoon is enough to give a rich chocolate flavor without overpowering the other ingredients. If you prefer a sweeter brownie, you can add an extra teaspoon, but be careful not to make it too sweet. Cocoa also brings antioxidants to the mix, turning your snack into a health‑boosting treat.
The Final Flourish
The sugar substitute is the final touch that keeps the carbs low while providing the sweet finish you crave. Use 1–2 teaspoons of your favorite granulated sugar substitute—whether it’s erythritol, stevia, or monk fruit. Too much, and the brownie will taste artificial; too little, and it will be bland. If you’re experimenting, try a blend of stevia and monk fruit for a smoother sweetness. This ingredient is optional, so you can tweak the sweetness level to your taste without compromising the protein content.
Everything's prepped? Good. Let's get into the real action.
The Method — Step by Step
- Start by preheating a small cast‑iron skillet over medium heat. The skillet should be hot enough that a drop of water sizzles when it hits the surface. This pre‑heat step ensures a crisp bottom and an even cook. I’ve found that a 3‑minute pre‑heat period works perfectly for most stovetops. While the skillet warms, grab your whisk and get ready to mix.
- In a medium bowl, combine the canned pumpkin, protein powder, cocoa powder, and sugar substitute. Whisk until the mixture is smooth and free of lumps. The batter should be thick but pourable—if it’s too thick, add a splash of almond milk. This step is crucial: the protein needs to hydrate fully to create that airy crumb. I’ve seen many people skip this, resulting in a gritty texture.
- Once the skillet is hot, pour the batter in, spreading it evenly with a spatula. The batter should be about 1/4 inch thick. Let it sit untouched for 30 seconds; this allows the surface to set slightly and prevents it from sticking. I’ve discovered that letting it rest is the secret to a clean lift later.
- Cover the skillet with a lid or aluminum foil and reduce the heat to low. Cook for 8–10 minutes, checking for a slight wobble when you tap the top. The edges should pull away from the skillet, and the center should be set but still slightly jiggly. If you’re cooking on a gas stove, keep the flame low to avoid burning the bottom.
- Now comes the moment of truth: remove the lid and let the brownie finish cooking for another 2 minutes. The top will develop a glossy sheen, and the aroma will intensify. This brief exposure to the open air caramelizes the sugars, giving that final chocolatey bite. If you’re a fan of a slightly gooey center, you can stop at 8 minutes; for a firmer bite, let it go to 10.
- Once the brownie is done, carefully lift it with a spatula and transfer it to a cutting board. Let it rest for 3 minutes; this allows the interior to set fully and prevents it from falling apart. The rest period also lets the flavors meld together. I’ve found that a 3‑minute rest gives the best bite. If you’re in a rush, you can cut it immediately, but the texture will be slightly less stable.
- Slice the brownie into four equal wedges. The edges should be clean and not fray, thanks to the protein’s structure. If you prefer a more uniform shape, use a small pizza cutter. A clean cut also makes for a better presentation when serving.
- Serve the brownies warm or at room temperature. A warm brownie is gooey and indulgent, while a room‑temperature brownie is firmer and easier to bite. Pair them with a scoop of vanilla Greek yogurt for an extra protein boost. If you’re on a keto diet, sprinkle a few crushed almonds on top for crunch.
- If you have leftovers, store them in an airtight container in the fridge for up to 5 days. To reheat, microwave for 20–30 seconds or toast in a dry skillet for a minute. This will restore the brownie’s moisture and make it feel fresh.
That's it — you did it. But hold on, I've got a few more tricks that'll take this to another level.
Insider Tricks for Flawless Results
The Temperature Rule Nobody Follows
Many people cook protein brownies on high heat, which causes the exterior to brown too quickly while the center remains undercooked. The trick is to keep the heat low and let the batter gently cook. A low flame allows the proteins to denature slowly, creating a tender crumb. I’ve tried high heat and the brownie ends up with a hard shell and a raw center. Stick to low, and you’ll get a perfect finish every time.
Why Your Nose Knows Best
Your sense of smell is the most reliable indicator of doneness. When the brownie emits a rich, chocolatey aroma, it’s almost ready. If it still smells like raw batter, give it a few more minutes. I’ve learned to trust the scent more than the timer, and it always pays off. A well‑aromated brownie tastes better and has a better texture.
The 5‑Minute Rest That Changes Everything
After removing the brownie from the skillet, let it rest for exactly five minutes before cutting. This brief pause allows the proteins to set and the moisture to redistribute. The result is a brownie that holds together and has a smooth interior. Skipping this step often leads to a crumbly mess. I’ve found that five minutes is the sweet spot for texture.
Use a Silicone Baking Mat
A silicone mat on your skillet prevents sticking and makes cleanup a breeze. The mat also distributes heat evenly, ensuring that the brownie cooks uniformly. I’ve used it on a cast‑iron pan and the results are flawless. If you don’t have a silicone mat, a sheet of parchment paper works as a temporary solution.
Add a Pinch of Salt
A tiny pinch of salt balances the sweetness and enhances the chocolate flavor. It’s a classic technique that many bakers overlook. I’ve added a pinch to every batch, and it makes a noticeable difference. Don’t skip this step if you want depth of flavor.
Creative Twists and Variations
This recipe is a playground. Here are some of my favorite ways to switch things up:
Cocoa‑Infused Chocolate Chip
Add a handful of dark chocolate chips to the batter before cooking. The chips melt into pockets of chocolate throughout the brownie, giving it a decadent bite. This variation is perfect for chocolate lovers who want an extra dose of cocoa.
Nutty Crunch
Fold in a quarter cup of chopped walnuts or pecans. The nuts add crunch and a buttery flavor that pairs beautifully with the pumpkin. Toast the nuts beforehand for an extra layer of flavor.
Spiced Pumpkin Surprise
Stir in a pinch of cinnamon and nutmeg to give the brownie a warm, autumnal twist. The spices complement the pumpkin and add depth to the chocolate flavor. This version is ideal for a cozy evening snack.
Berry‑Burst Variation
Drop a few fresh blueberries or raspberries into the batter before cooking. The berries burst in the heat, releasing a sweet, tart flavor that contrasts with the rich brownie. It’s a fresh take that’s both colorful and tasty.
Almond Butter Swirl
Swirl a spoonful of almond butter into the batter before cooking. The almond butter adds a nutty, creamy layer that melts into the brownie. This variation is great for those who love a nutty finish.
Coffee‑Infused Delight
Add a teaspoon of instant espresso powder to the batter. The coffee intensifies the chocolate flavor and gives a subtle aftertaste. This version is a perfect match for a late‑night snack or a post‑workout treat.
Storing and Bringing It Back to Life
Fridge Storage
Store the brownies in an airtight container at room temperature for up to 3 days. The airtight seal prevents moisture loss, keeping the brownies soft. If you’re in a humid climate, keep the container in the fridge to avoid mold. I’ve stored them for a week, and they still tasted fresh. Make sure to label the date so you know how long they’ve been stored.
Freezer Friendly
Wrap each brownie in plastic wrap, then place them in a freezer bag. Freeze for up to 3 months. When you’re ready to enjoy, let them thaw at room temperature for 20 minutes. The brownies will retain their texture and flavor after freezing. I’ve frozen a batch for a weekend trip, and it was still delicious.
Best Reheating Method
To reheat, add a splash of water to a microwave‑safe dish and microwave on high for 20–30 seconds. The water creates steam, rehydrating the brownie. Alternatively, place the brownie in a dry skillet over low heat for a minute. The result is a warm, gooey treat that tastes like it was freshly baked.