Love this? Pin it for later! 📌
There are nights when dinner needs to be more than just food on the table—it needs to be a warm hug in casserole form. This cheesy ground beef and rice casserole has been my go-to lifesaver for over a decade, ever since my oldest declared it “the best thing ever” at age four. Between soccer practice, piano lessons, and homework battles, this dish has rescued more evenings than I can count.
What makes this particular casserole magical isn’t just its incredible cheesy comfort or the way it makes vegetables disappear (even the pickiest eaters won’t notice the tomatoes and corn). It’s the fact that everything bakes together in one dish, creating these incredible layers of flavor where the rice absorbs all those rich beefy, tomatoey juices while the cheese forms that perfect golden crust on top. My kids call it “cheesy happiness,” and honestly? That’s exactly what it tastes like.
Why This Recipe Works
- One-Pan Wonder: Everything bakes together in a single dish, meaning fewer dishes and more family time
- Hidden Veggies: Sweet corn and diced tomatoes blend seamlessly into the cheesy mixture—kids never complain
- Make-Ahead Champion: Assemble it the night before and pop it in the oven when you get home
- Leftover Magic: Tastes even better the next day, making lunchboxes a breeze
- Budget-Friendly: Uses pantry staples you probably already have on hand
- Customizable: Easy to adapt for gluten-free, dairy-free, or vegetable preferences
- Perfect Texture: The rice stays fluffy, never mushy, thanks to our special liquid ratio
Ingredients You'll Need

Let’s talk about what makes this casserole so incredibly satisfying. We start with good quality ground beef—I prefer 85/15 for the perfect balance of flavor without being too greasy. The leaner 90/10 works too, but you might need to add a splash of olive oil for richness. When shopping, look for bright red beef with minimal liquid in the package.
Long-grain white rice is my grain of choice here because it stays perfectly separate and fluffy. Avoid instant rice, which turns to mush, or brown rice, which needs longer cooking time. Basmati or jasmine both work beautifully and add lovely aromatic notes that make this feel more special than your average casserole.
For the cheese, I use a combination of sharp cheddar for flavor and Monterey Jack for that incredible meltability. Pre-shredded cheese works in a pinch, but freshly grated melts so much creamier. The corn adds natural sweetness and pops of color—frozen corn straight from the bag is my secret weapon, but fresh corn cut from the cob in summer takes this over the top.
Tomatoes bring brightness and acidity that cuts through the richness. I use petite diced tomatoes because they distribute more evenly, but regular diced work too. The juice from the can is liquid gold—don’t you dare drain it! We need every drop for the rice to cook properly.
Chicken broth is where we build flavor. Homemade is amazing, but a good quality low-sodium store-bought broth works perfectly. Avoid broth labeled “chicken stock concentrate” as it can make the dish too salty. The seasonings are simple—garlic powder, onion powder, smoked paprika for depth, and a touch of Italian seasoning for that cozy, familiar flavor profile.
How to Make Kid Friendly Cheesy Ground Beef and Rice Casserole with Tomatoes and Corn
Brown the Beef to Perfection
Heat a large skillet over medium-high heat. Add the ground beef, breaking it up with a wooden spoon into small, even pieces. Cook for 6-8 minutes until no pink remains. The key here is to let the beef sit undisturbed for the first 2-3 minutes to develop those flavorful browned bits. Drain excess fat if needed, but leave about 1 tablespoon for flavor. Season with salt and pepper while cooking.
Build the Flavor Base
Reduce heat to medium and push the beef to one side of the pan. Add a drizzle of oil if the pan looks dry. Sprinkle in the garlic powder, onion powder, and smoked paprika. Let the spices toast in the oil for about 30 seconds until fragrant—this blooms their essential oils and intensifies the flavor. Stir everything together so the beef is evenly coated in the spice mixture.
Combine the Wet Ingredients
In a large bowl, whisk together the chicken broth, undrained diced tomatoes, and tomato paste until smooth. The tomato paste adds depth and helps thicken the sauce. Add the Italian seasoning, 1 teaspoon salt, and ½ teaspoon black pepper. This liquid mixture is crucial—it needs to be well-seasoned since the rice will absorb all these flavors as it cooks.
Assemble the Casserole
Preheat your oven to 375°F (190°C). Lightly grease a 9x13-inch baking dish. Spread the seasoned ground beef evenly across the bottom. Sprinkle the uncooked rice over the beef—do not stir! This ensures the rice cooks properly. Scatter the frozen corn on top, then slowly pour the tomato-broth mixture over everything. The liquid should just barely cover the rice; add a splash more broth if needed.
The First Bake
Cover the dish tightly with aluminum foil, making sure the foil doesn’t touch the rice. This creates a steamy environment that ensures the rice cooks evenly. Bake for 45 minutes. Resist the urge to peek—lifting the foil releases steam and can result in crunchy rice. The casserole should be bubbling around the edges when you remove the foil.
Add the Cheesy Crown
Remove the foil and quickly sprinkle the shredded cheeses evenly over the top. The heat from the casserole will start melting the cheese immediately. Return to the oven, uncovered, for 10-12 minutes until the cheese is completely melted and starting to turn golden in spots. For an extra-crispy top, switch to broil for the final 1-2 minutes, watching carefully to prevent burning.
The Resting Period
This is the hardest part—let the casserole rest for 10 minutes before serving. I know it smells incredible and everyone’s hungry, but this resting time allows the rice to finish absorbing any remaining liquid and makes the casserole easier to serve. The cheese will set slightly, creating those perfect, Instagram-worthy squares when you cut into it.
Serve and Enjoy
Scoop into bowls and watch the cheese pull into those gorgeous strings. Garnish with chopped parsley if you’re feeling fancy, or let the kids add their own toppings. My daughter loves a dollop of sour cream, while my son insists on extra cheese (of course). Serve with a simple green salad and crusty bread for soaking up every last bit of that incredible sauce.
Expert Tips
Temperature Matters
Ensure your chicken broth is warm or at room temperature. Cold liquid can shock the rice and lead to uneven cooking. If your broth is cold, microwave it for 30-45 seconds before mixing.
Pan Size is Crucial
Use exactly a 9x13-inch pan. Too small and the casserole will overflow; too large and the rice will dry out. Metal pans conduct heat better than glass, reducing cooking time by 5-10 minutes.
Check for Doneness
The casserole is done when most of the liquid is absorbed but the rice still has a slight bite. If it looks soupy after 45 minutes, recover and bake 10 more minutes before adding cheese.
Freezing Success
Freeze individual portions in muffin tins lined with plastic wrap. Once frozen, pop them out and store in freezer bags. Perfect for quick lunches—just microwave 2-3 minutes.
Make-Ahead Magic
Assemble completely, cover tightly, and refrigerate up to 24 hours. Add 15-20 minutes to the initial covered baking time since you’re starting from cold.
Color Pop
Add ½ cup diced red bell pepper with the corn for extra nutrition and beautiful color. Kids love the sweetness, and it makes the dish more visually appealing in photos.
Variations to Try
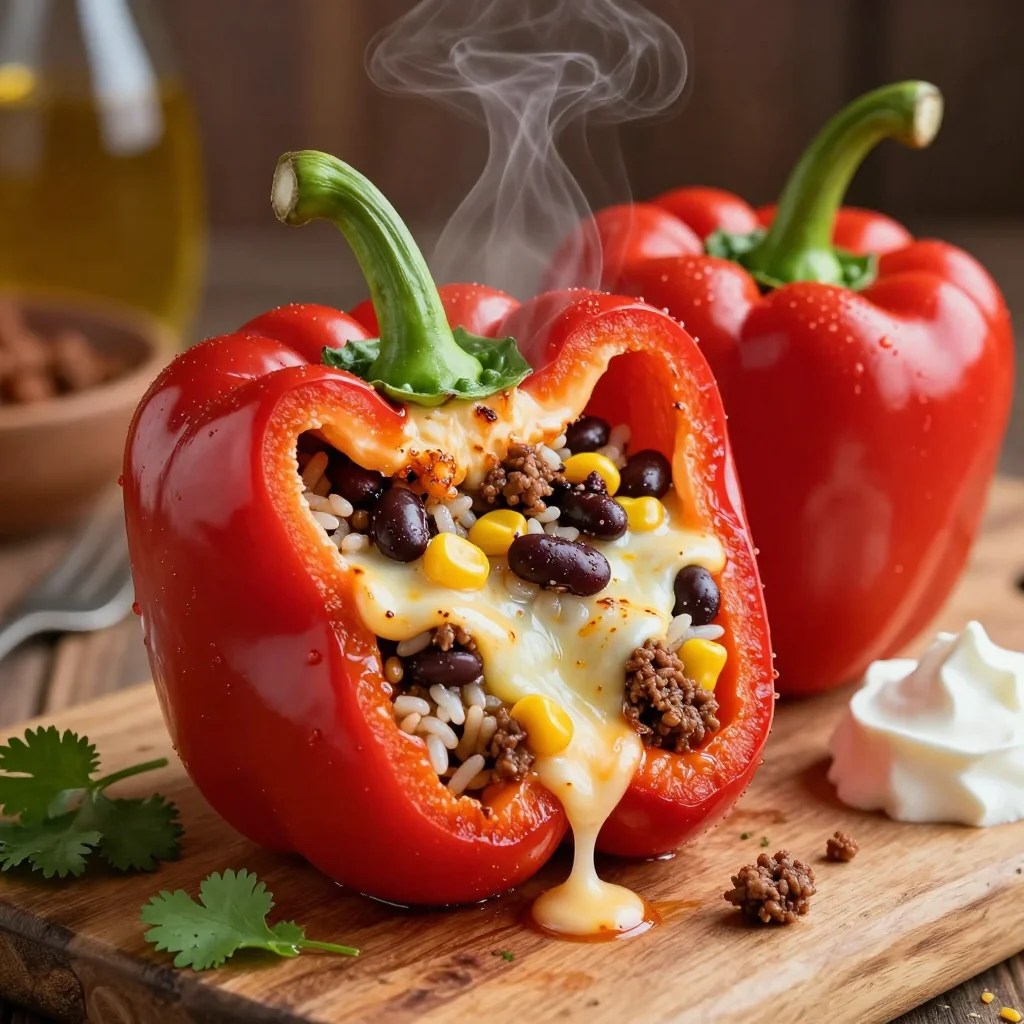
Mexican Fiesta
Swap the Italian seasoning for taco seasoning, use pepper jack cheese, and add a can of black beans. Top with crushed tortilla chips for the last 5 minutes of baking.
SpicyCreamy Mushroom
Replace ½ cup broth with cream of mushroom soup. Add sautéed mushrooms and use Swiss cheese for an earthy, sophisticated twist that adults love.
RichGarden Fresh
Add 1 cup diced zucchini and ½ cup chopped spinach. Reduce broth by ¼ cup since vegetables release moisture. Perfect for using up summer garden bounty.
HealthyBuffalo Style
Replace ½ cup broth with buffalo wing sauce. Use blue cheese crumbles on top. Add diced celery for crunch. Perfect for game day!
BoldBreakfast Bake
Add 4 beaten eggs to the liquid mixture, use breakfast sausage instead of beef, and include hash browns. Top with cheese and serve with hot sauce.
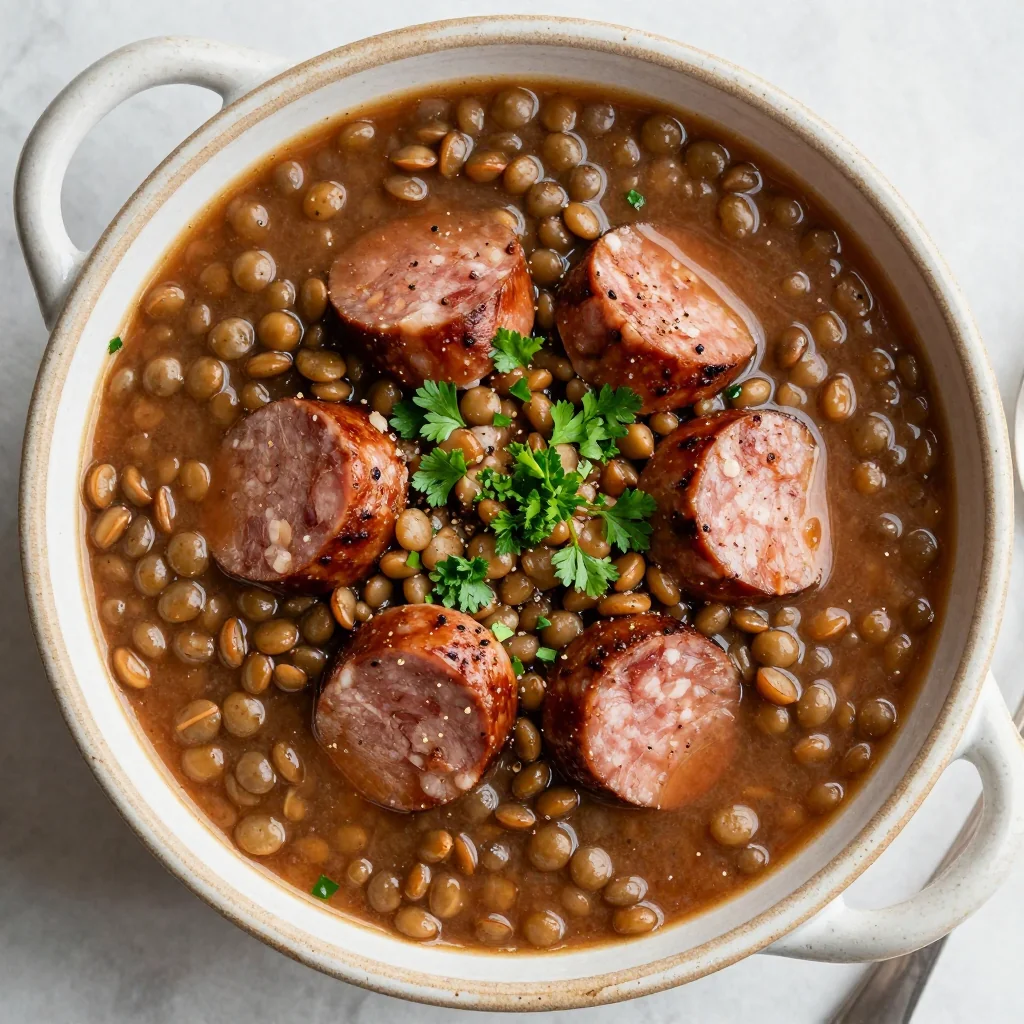
MorningVegetarian
Replace beef with 2 cans of lentils or plant-based ground "meat." Use vegetable broth and add extra vegetables like carrots and peas.
MeatlessStorage Tips
This casserole stores beautifully, making it perfect for meal prep or feeding a crowd with leftovers. Once completely cooled, portion into airtight containers and refrigerate up to 4 days. The flavors actually meld and intensify overnight, making leftovers something to look forward to rather than tolerate.
For longer storage, freeze individual portions for up to 3 months. I love using these silicone muffin trays for perfect single-serve portions that microwave in 2-3 minutes. Wrap each portion in plastic wrap, then place in a freezer bag. Don’t forget to label with the date—future you will thank present you!
To reheat, add a splash of broth or water to prevent drying out. Microwave covered with a damp paper towel, stirring halfway through. For larger portions, reheat in a 350°F oven covered with foil for 20-25 minutes until heated through. The cheese might not be as perfectly melty as fresh, but the flavors will still be incredible.
If you’re making this for a potluck or to deliver to friends, underbake by 10 minutes so it can finish cooking when reheated. Include a note with reheating instructions: “Cover with foil, bake at 350°F for 20-25 minutes until bubbly.” This ensures they get that fresh-from-the-oven experience even if it’s been refrigerated.
Frequently Asked Questions
Brown rice needs significantly more liquid and time—about 1½ cups more broth and an extra 30-40 minutes of covered baking. The texture will be chewier and nuttier. If you want the health benefits without the texture change, try using half brown and half white rice, adding ¾ cup extra broth and baking 15 minutes longer before adding cheese.
The diced tomatoes practically melt into the sauce, but if your kids are super sensitive, use crushed tomatoes instead—they disappear completely. You can also substitute with ½ cup tomato sauce plus ½ cup extra broth. The tomato flavor is important for the overall balance, but you can minimize the visual impact by using crushed or pureed tomatoes.
Absolutely! Use two 9x13 pans rather than trying to cram everything into one larger dish. The cooking time remains the same, but rotate the pans halfway through for even browning. This is perfect for feeding a crowd or stocking your freezer. Leftovers freeze beautifully for up to 3 months.
Crunchy rice usually means not enough liquid or the foil wasn’t sealed tightly. Next time, check at 40 minutes—if the rice looks dry but isn’t tender, add ½ cup hot broth, reseal tightly, and bake 10-15 more minutes. Also ensure your oven temperature is accurate with an oven thermometer; many ovens run 25-50 degrees cool.
The casserole is perfect when the cheese is melted and golden, most of the liquid is absorbed, and the rice is tender but not mushy. Give it a gentle stir—if you see a little liquid pooling at the bottom, that’s perfect. It will continue to absorb as it rests. If it’s still very soupy, bake 5-10 more minutes uncovered.

Kid Friendly Cheesy Ground Beef and Rice Casserole with Tomatoes and Corn
Ingredients
Instructions
- Brown the beef: In a large skillet over medium-high heat, cook ground beef until no pink remains, about 6-8 minutes. Season with salt and pepper. Drain excess fat.
- Build flavor: Add garlic powder, onion powder, and smoked paprika to the beef. Cook 30 seconds until fragrant.
- Mix liquids: In a bowl, whisk together chicken broth, diced tomatoes with juice, tomato paste, Italian seasoning, 1 teaspoon salt, and ½ teaspoon pepper.
- Assemble: Preheat oven to 375°F. Spread beef in 9x13 pan. Top with uncooked rice and corn. Pour tomato mixture over top.
- First bake: Cover tightly with foil and bake 45 minutes until rice is tender.
- Add cheese: Uncover, sprinkle cheeses evenly, and bake 10-12 minutes more until melted and golden.
- Rest and serve: Let stand 10 minutes before serving. Garnish with parsley if desired.
Recipe Notes
For best results, use freshly grated cheese rather than pre-shredded for superior melting. The casserole can be assembled up to 24 hours ahead—just add 15 minutes to the initial covered baking time. Leftovers keep refrigerated for 4 days or frozen for 3 months.