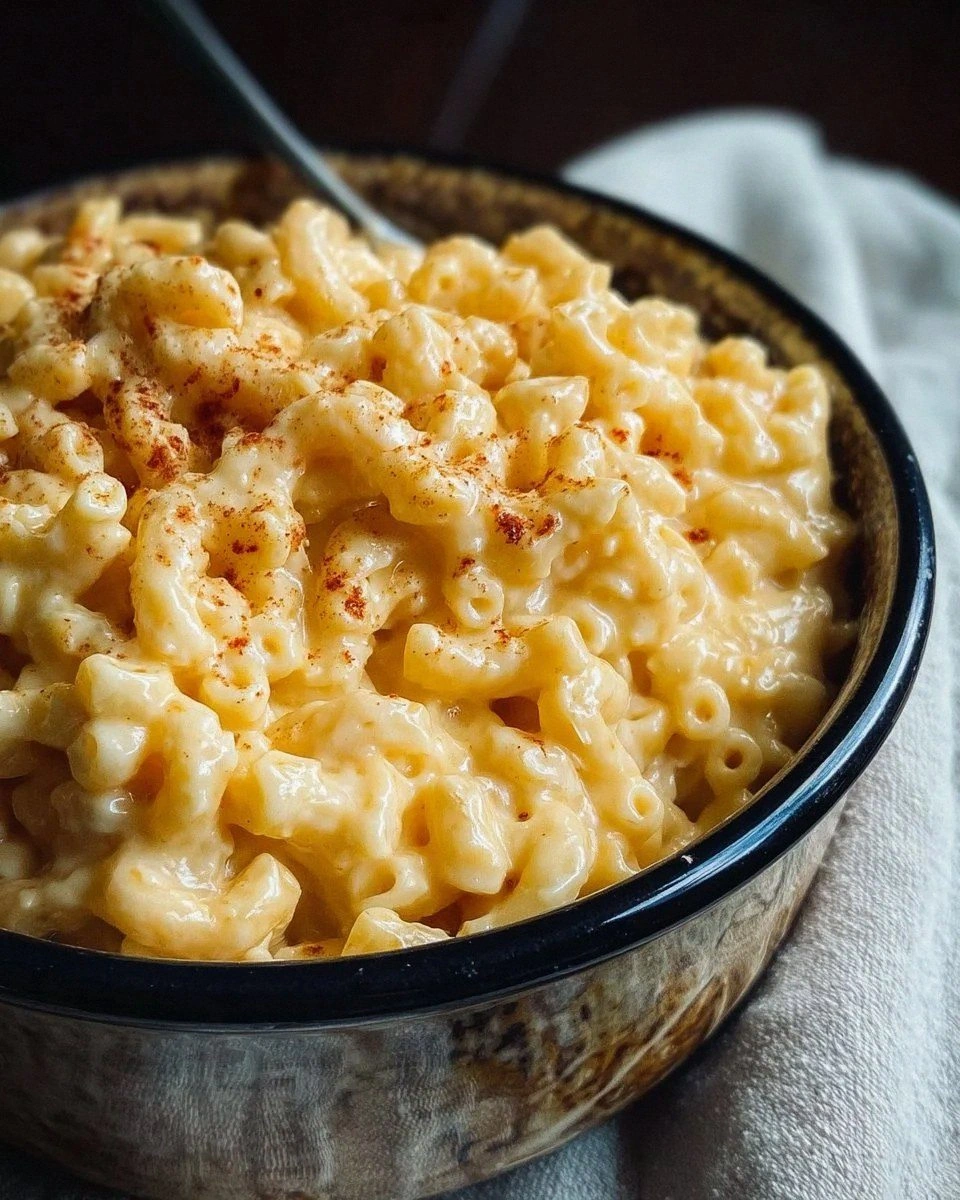
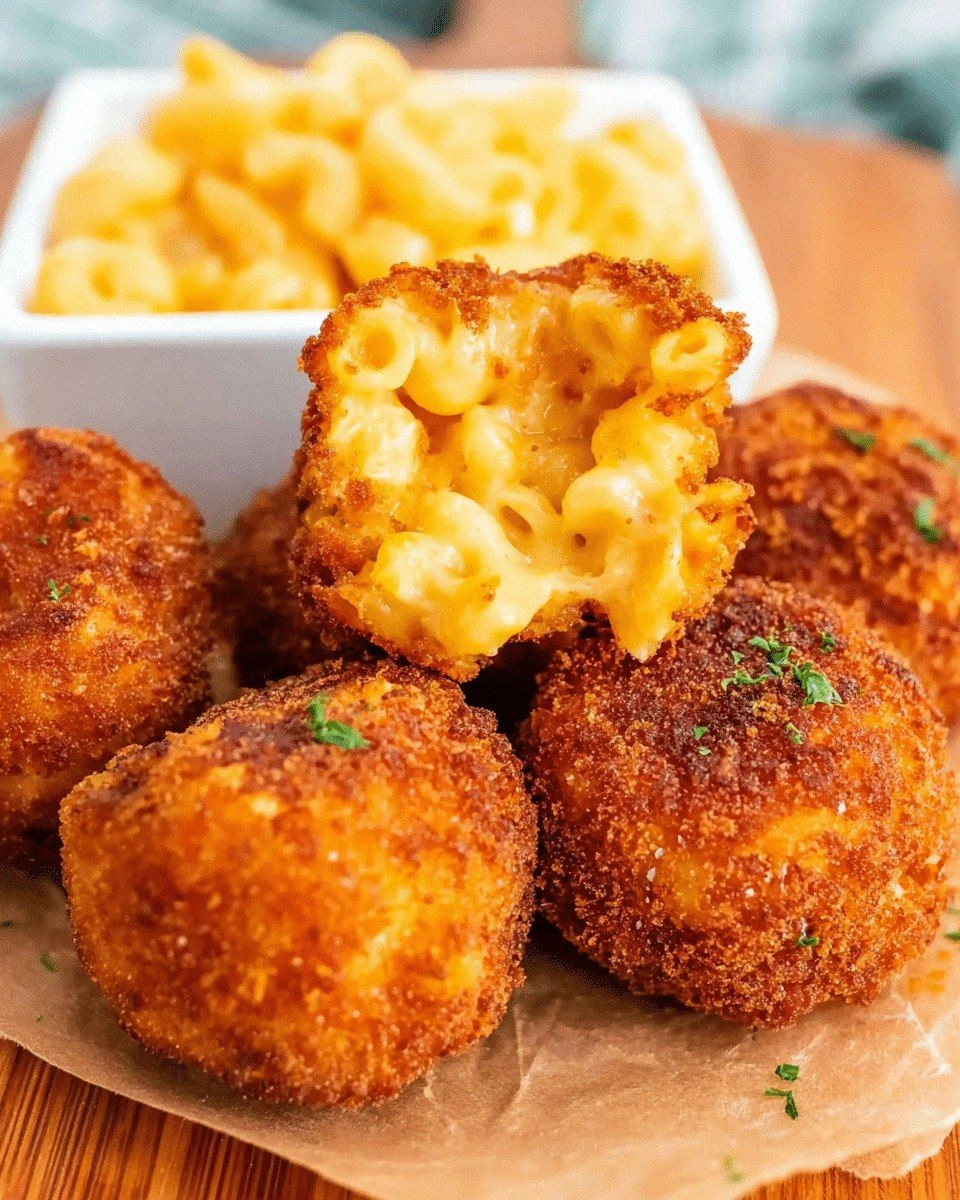
Picture this: you’re in the middle of a frantic week, the fridge is a sad gray of leftover pizza, and your cravings are screaming for something comforting yet exciting. You open a bag of instant mac and cheese, toss it in a pan, and the aroma of melted cheddar instantly takes you back to childhood. But that’s not the end of the story. I was determined to turn that ordinary snack into something that would have people begging for seconds—so I invented the ultimate fried mac and cheese ball.
From the moment the pasta hits the pot, the kitchen smells like a warm, buttery hug. The clatter of the spoon against the saucepan, the hiss of butter melting, the gentle steam that rises—it’s a symphony of senses. The first bite is a perfect contrast: the golden crunch shatters like thin ice, revealing a molten core that coats your tongue like velvet. Every mouthful is an explosion of cheesy bliss, a texture play that’s both indulgent and oddly satisfying. This isn’t just a snack; it’s a culinary revelation that will change the way you think about comfort food.
What sets this version apart is that it’s not just about the flavor. It’s about the method, the little tricks that elevate the dish, and the sheer confidence you’ll feel when you serve it. I dare you to taste this and not go back for seconds. I’ve refined the recipe until every bite is a masterpiece. If you’ve ever struggled with making mac and cheese that’s both creamy and crisp, you’re not alone—and I’ve got the fix. The result? A dish that feels like a hug wrapped in a golden shell.
Let me walk you through every single step—by the end, you’ll wonder how you ever made it any other way. I’ll share the secret ingredient that gives the cheese sauce its silky texture, a trick for achieving the perfect crunch, and a handful of hacks that will make you feel like a kitchen wizard. This isn’t just a recipe; it’s a story of experimentation, failure, and triumph. So grab a pen, a notebook, and let’s dive into the ultimate fried mac and cheese ball.
What Makes This Version Stand Out
- Flavor: A trio of cheeses—cheddar, mozzarella, and Parmesan—creates a rich, layered taste that’s deeper than a single cheese blend. The addition of garlic powder and paprika gives a subtle kick that balances the sweetness of the cheese.
- Texture: The batter is thick enough to hold its shape but moist enough that the interior remains gooey. The breadcrumb coating turns into a crisp, golden shell that snaps when you bite.
- Simplicity: The recipe requires only a handful of pantry staples. No fancy sauces or exotic ingredients—just good, honest cooking.
- Uniqueness: The combination of a cheese sauce and a flour‑egg binder is a twist on classic mac and cheese, turning it into bite‑size, handheld perfection.
- Crowd Reaction: Friends who have tried this rave about the contrast of textures and the comforting flavor. It’s a guaranteed crowd‑pleaser at parties and game nights.
- Ingredient Quality: Using real, high‑quality cheeses makes a noticeable difference. The flavor is richer, the melt is better, and the overall experience is elevated.
- Cooking Method: Frying gives a satisfying crunch that can’t be achieved by baking or microwaving. The oil temperature is key to a golden finish.
- Make‑Ahead Potential: These balls can be assembled a day in advance, chilled, and fried just before serving. It’s perfect for entertaining.
Inside the Ingredient List
The Flavor Base
The foundation of this dish is a rich cheese sauce that’s the heart of every bite. Cheddar provides sharpness, mozzarella adds stretch, and Parmesan contributes depth. Milk brings creaminess, while butter melts into the sauce, adding silky richness. If you skip the butter, the sauce will taste flat and less velvety. The combination of these cheeses creates a flavor profile that’s both comforting and sophisticated.
The Texture Crew
The flour and egg bind the pasta and cheese together into a cohesive mixture that holds its shape. Flour thickens the sauce, giving it body, while the egg adds structure and helps the breadcrumbs adhere. Salt and pepper season the mixture, enhancing every component. Garlic powder and paprika introduce a subtle warmth that balances the richness. If you omit the egg, the balls will fall apart during frying.
The Unexpected Star
Breadcrumbs are more than a coating—they’re the secret to that coveted crunch. Use fresh, lightly toasted breadcrumbs for maximum flavor. The breadcrumbs absorb the oil, creating a golden crust that’s crisp on the outside and buttery on the inside. If you prefer a gluten‑free version, swap breadcrumbs for almond flour or crushed rice crackers. The texture changes, but the crunch remains.
The Final Flourish
Finishing touches like a splash of milk before frying can keep the interior moist. A pinch of cayenne adds a subtle heat that surprises the palate. The final garnish—fresh parsley or chives—adds a pop of color and freshness. These small details elevate the dish from simple to spectacular. They’re the finishing touches that make each bite memorable.
Everything's prepped? Good. Let's get into the real action.
The Method — Step by Step
Start by cooking 2 cups of elbow macaroni in salted water until al dente—about 8 minutes. Drain and rinse with cold water to stop the cooking process and prevent sticking. Let the pasta cool to room temperature; this step ensures the mixture isn’t too hot when you add the cheese sauce. If the pasta is still warm, the cheese will melt too quickly and the batter will be runny. Keep it cool for a smooth, cohesive dough.
In a medium saucepan, melt 2 tablespoons of butter over medium heat. Add 1/2 cup of milk and bring to a gentle simmer. Stir in 1 cup shredded cheddar, 1 cup shredded mozzarella, and 1/4 cup grated Parmesan. Keep the heat low and stir until the cheeses melt into a glossy sauce. The sauce should be thick enough to coat the back of a spoon.
Remove the sauce from the heat and let it cool for a minute. Then stir in 1/2 cup all‑purpose flour, 1 large egg, 1 teaspoon salt, 1/2 teaspoon black pepper, 1 teaspoon garlic powder, and 1 teaspoon paprika. Mix until the batter is smooth and no lumps remain. The flour and egg act as binders, turning the mixture into a thick, dough‑like consistency. If the batter feels too dry, add a splash of milk to loosen it.
Fold the cooled pasta into the cheese batter, ensuring every noodle is coated. The mixture should feel firm but pliable. If the dough feels too sticky, chill it in the refrigerator for 15 minutes to firm up. This step is crucial for forming neat, bite‑sized balls. The pasta acts as a scaffold, holding the cheese sauce together.
Shape the mixture into 1‑inch balls using your hands or a small cookie scoop. Place the formed balls on a parchment‑lined tray. They should be uniform in size for even cooking. Let the balls rest for 10 minutes; this allows the batter to set and makes them easier to handle.
Heat 2 cups of oil in a deep skillet to 350°F (175°C). While the oil heats, coat each ball in breadcrumbs, pressing gently to ensure an even coating. The breadcrumbs will become the crunchy exterior. If you want extra crunch, double‑coat the balls by dipping them back into the batter before the second breadcrumb layer.
Gently lower the balls into the hot oil, frying in batches to avoid overcrowding. Cook each batch for 3–4 minutes, turning occasionally, until the exterior is golden brown and the internal temperature reaches 160°F (71°C). The sound of sizzling is your cue that the balls are cooking perfectly. Avoid touching the balls with a spoon; let the oil do the work.
Use a slotted spoon to remove the fried balls and drain them on paper towels. Let them rest for a minute; the residual heat will finish cooking the interior. Serve immediately while they’re still warm and gooey. A drizzle of hot sauce or a sprinkle of fresh herbs can elevate the flavor.
Enjoy the crunch, the melt, the aroma, and the sheer joy of eating something that feels like a hug in every bite. I’ve been known to devour half the batch before anyone else has even had a chance to taste one. That’s the power of this recipe—once you taste it, you won’t stop.
That’s it—you did it. But hold on, I've got a few more tricks that'll take this to another level.
Insider Tricks for Flawless Results
The Temperature Rule Nobody Follows
Many people fry at a lower temperature, hoping to avoid burning. In reality, a steady 350°F is the sweet spot for a crispy crust and a creamy interior. If the oil is too hot, the exterior will char while the inside remains raw. Keep the temperature consistent by using a thermometer and adjusting the heat as needed. This simple adjustment can make the difference between a mediocre bite and a perfect one.
Why Your Nose Knows Best
The scent of cheese melting is a powerful indicator of doneness. When the aroma turns nutty and buttery, you’re close to the ideal texture. If you’re unsure, give the balls a gentle tap; if they feel firm and the crust cracks slightly, they’re ready. Trust your senses—your nose is a reliable guide.
The 5‑Minute Rest That Changes Everything
After frying, let the balls rest for five minutes on a rack or paper towels. This allows the steam to escape, preventing a soggy bottom. A quick rest also lets the cheese settle, creating a more cohesive interior. Skipping this step can result in a less satisfying bite. Give them that short pause, and you’ll notice the difference.
Double‑Coat for Extra Crunch
Some people skip the second breadcrumb layer, but a double coat creates a thicker, crunchier shell. After the first coating, dip the ball back into the batter, then into the breadcrumbs again. The second layer adds texture and helps the coating stick better. It’s a small extra step that pays off in every bite.
Keep the Oil Clean
Strain the oil after each batch to remove crumbs. Stale oil will impart a bitter flavor and can ruin the crispness. Store the cleaned oil in a sealed container at room temperature. Reuse it for up to three batches before discarding. A clean oil is essential for consistently golden results.
Creative Twists and Variations
This recipe is a playground. Here are some of my favorite ways to switch things up:
Spicy Jalapeño Balls
Add diced jalapeños to the batter for a fiery kick. The heat pairs beautifully with the creamy cheese. Serve with a cooling yogurt dip to balance the spice.
Herb‑Infused Balls
Stir in chopped fresh basil, oregano, or thyme into the cheese sauce. The herbs add a fragrant layer of flavor that elevates the dish. This variation works well with a drizzle of olive oil before serving.
Smoked Gouda Version
Swap the cheddar for smoked gouda for a smoky depth. The gouda’s meltiness keeps the interior moist, while the smoke adds a complex flavor profile. Pair with a light beer for a classic comfort pairing.
Vegan Mac Balls
Use plant‑based milk, vegan cheese, and a flaxseed egg to replace the dairy and egg. The result is a creamy, crispy vegan treat that satisfies the same cravings. Serve with a cashew‑based cheese sauce for dipping.
Chocolate Chip Surprise
Fold in mini chocolate chips into the batter before forming the balls. The chocolate will melt into pockets of sweetness that contrast with the savory exterior. This is a fun twist for kids or a sweet‑savory snack.
Storing and Bringing It Back to Life
Fridge Storage
Store the uncooked balls in an airtight container in the refrigerator for up to 3 days. Keep them in a single layer to avoid sticking. When you’re ready to serve, simply fry or bake them until golden. This makes it easy to have a quick snack ready for guests.
Freezer Friendly
Freeze the formed balls on a parchment‑lined tray until solid, then transfer them to a freezer bag. They’ll keep for up to 2 months. Reheat by frying or baking at 375°F (190°C) for 10–12 minutes. The texture remains crisp and the cheese stays melty.
Best Reheating Method
To revive frozen or refrigerated balls, add a splash of water to a pan with a little oil and heat them gently. The water steams the interior, keeping it moist while the oil crisps the exterior. This simple trick prevents the cheese from drying out during reheating.